Supplier Portal Overview
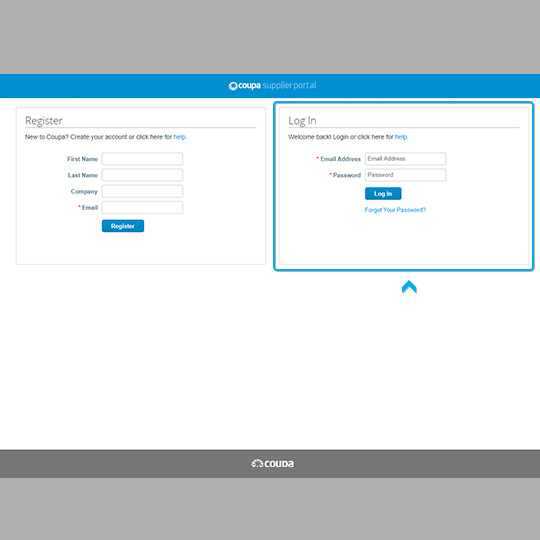
Click “Log In”.
Click “Close” or “Take Tour”.
*It is recommended to take the tour at least once.
This is your Coupa homepage
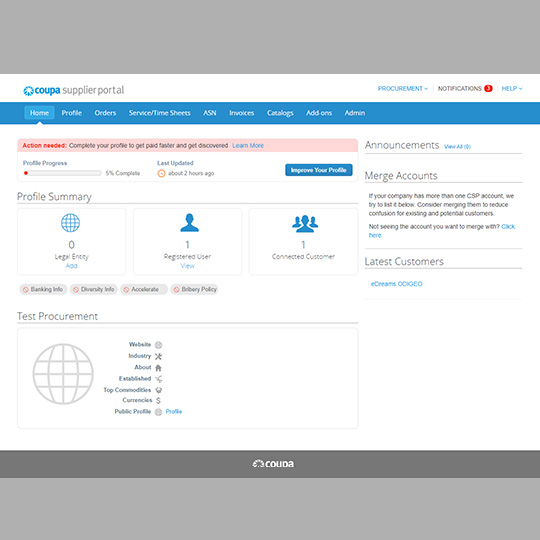
The main tabs you will be using for eDreams ODIGEO are
Notifications, “Merge Accounts”, Profile,
“Orders”, “Invoices”, and “Admin”.
Notifications and notification settings
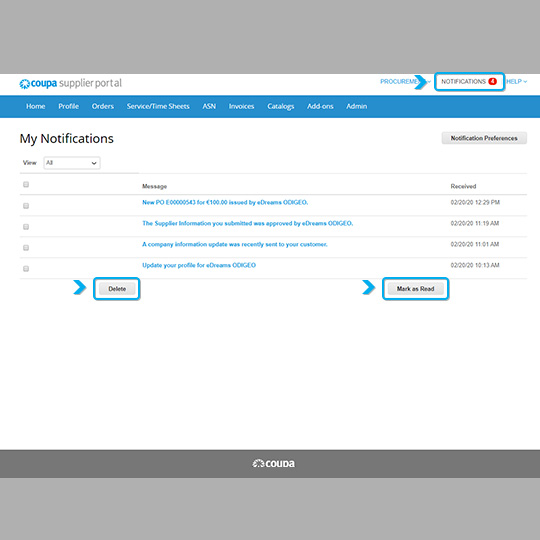
Notifications is similar to an email inbox. You can set your notification preferences by clicking “Notification Preferences” in the top right corner. You can manage your notifications from here, “Delete”, “Mark as Read”,etc.
Profile
How to update you eDreams ODIGEO profile information
- If you need to update your company’s information for eDreams ODIGEOd, please choose “ eDreams ODIGEO” from the drop- down menu in the top left side of the page.
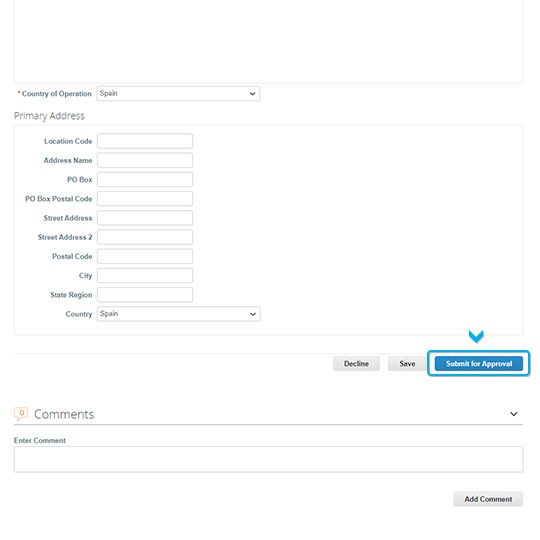
- Then you will see your profile info which you registered on time. If you want to update your profile info, scroll down and click on the “Update info” button in the bottom right- hand corner
- Once you have updated your profile information, click on “Submit for Approval”.
How to update you eDreams ODIGEO profile information

You can also make your profile public by clicking on “Edit Profile” in the “Profile” tab, as shown below:.
How to update you eDreams ODIGEO profile information

- Then click on “Edit” and you will be taken to the next page to add the relevant info. Once you have added/edit, click on “Save”
Orders (Purchase Orders)
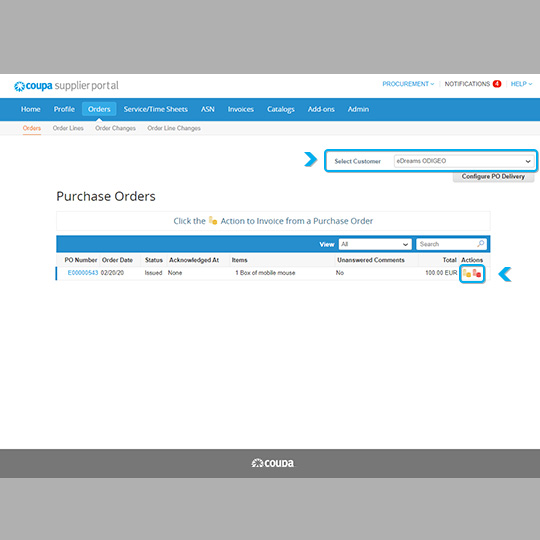
This is where eDreams ODIGEO’s purchase orders (PO) are located.
- You can select your “Customer” to view different purchase orders.
- You will be able to create an invoice from this page by clicking on the gold stack of coins or on the PO number.
*If you do not see any purchase orders, please reach out to your eDreams ODIGEO contact.
Invoices
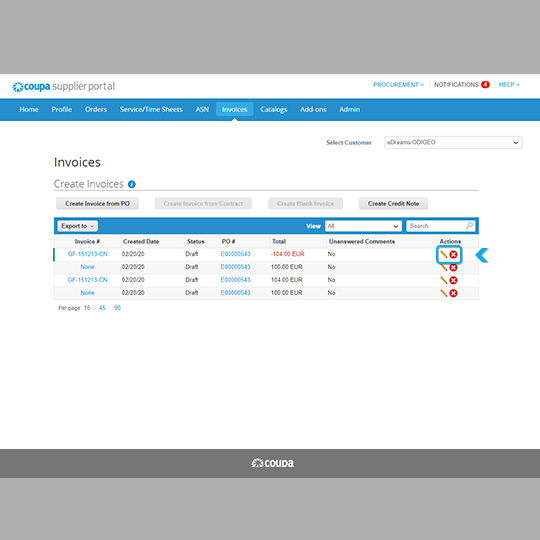
This is your invoices page. Here you will be able to see the status of your submitted invoices. You can use the view function to sort by status or “Create View” to create your own view.
IMPORTANT NOTE:You will not be able to edit an invoice once it is submitted.
Admin
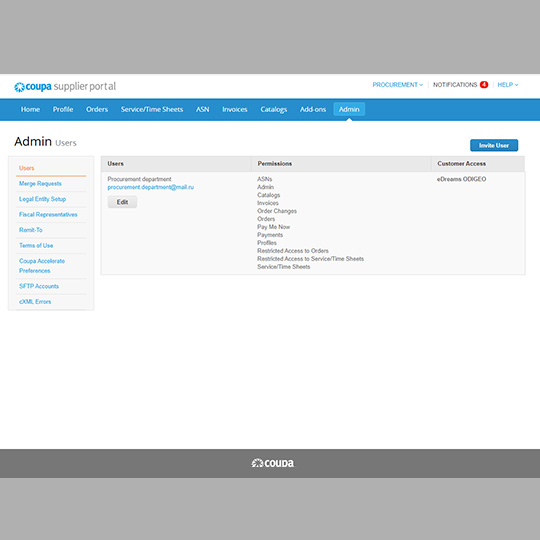
The “Admin” tab is where you will add users, merge your other Coupa accounts, view your remit-to information and invoicing, etc...
Users
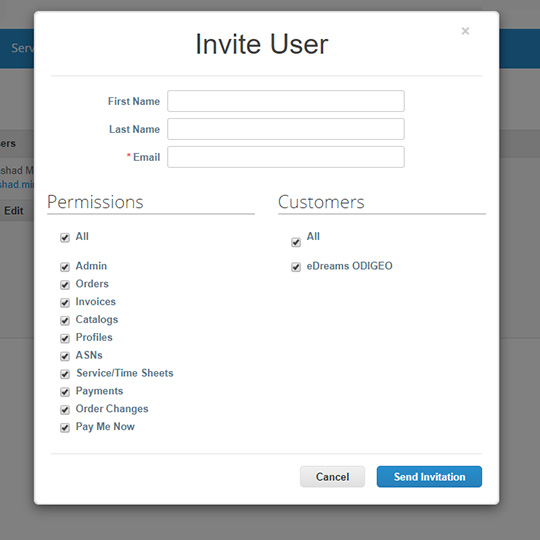
To invite users, click “Invite User”, enter the user’s information, and select the permissions and customers you wish to give them access to. Click “Send Invitation” and the user will receive an email from Coupa prompting them to accept and create a password.
Once you enter the relevant information, such as name, last name and email address, click on ¨Send Invitation”
Merge Request
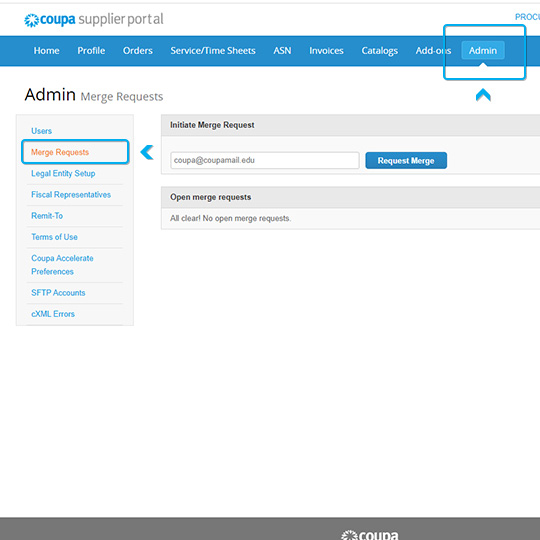
On this page, you will be able to view any merge requests you may have and accept or decline them. You will also be able to send out merge requests using this page as well. Merge requests are used if you have more than one Coupa profile.
Enter the email address of the other account and click “Request Merge”. They will receive a notification to accept or decline.
*This can also be found on the homepage. If a recommended supplier appears on the homepage and you click “Request Merge”, this page will appear.